cpu와 관계없이 모든 입출력들을 전부 이벤트 리스너로 전달하기 때문에 흐름이 끊기지 않고 응답이 빠르게 진행되어 1개의 프로세스로 보다 더빠른 작업을 가능하게 한다. 여기서 웹서버는 무엇이냐?
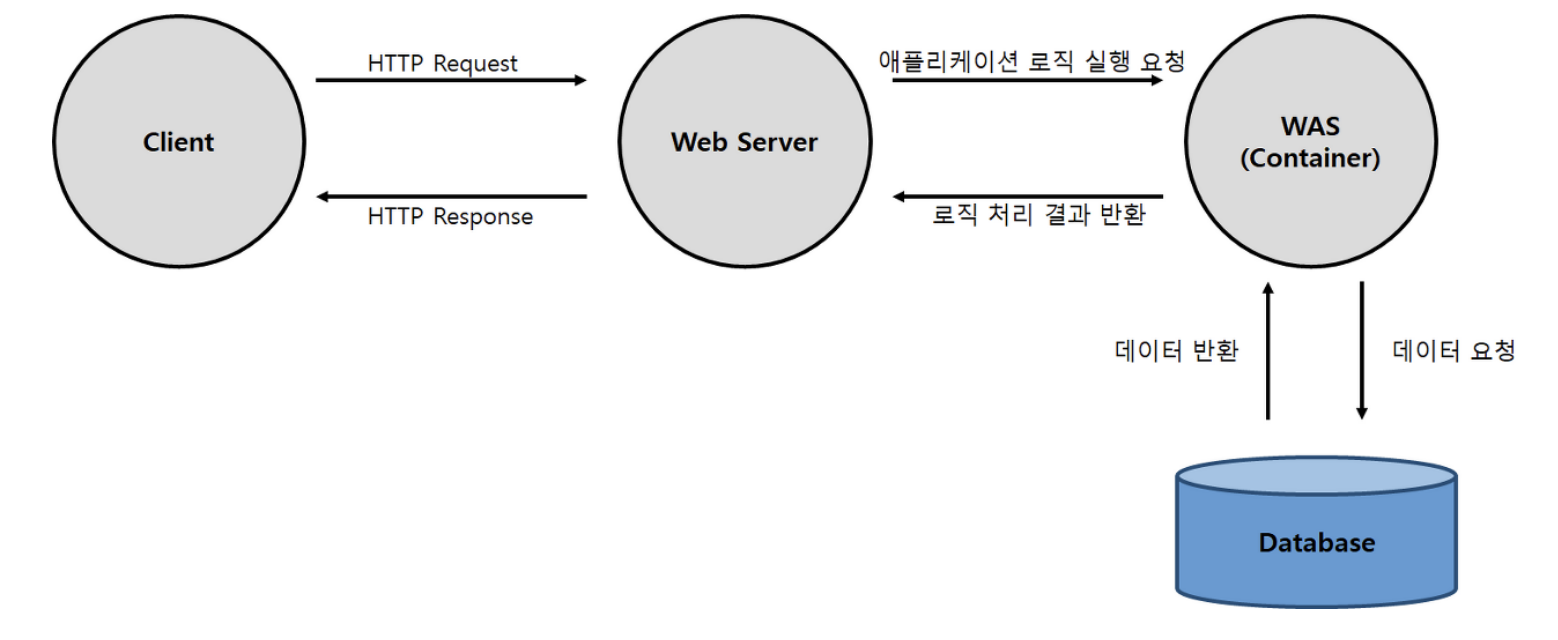
웹서버의 역할은 html, css 자바스크립트, 이미지 와 같은 정적인 정보를 사용자 에게 전송해주는 역할을 한다.
또한 리버스 프록시의 역할도 한다! 리버스 프록시는 기존의 포워드 프록시가 클라이언트 앞단에서 요청을 처리한다면, 내부망의 서버 앞단에서 요청을 처리하는데 이 리버스 프록시의 장점은 보안에 강점이 있기 때문이다. was 웹어플리케이션 서버는 대부분 db서버와 연결되어있다. was 가 최전방에 있으면 보안에 취약해진다.
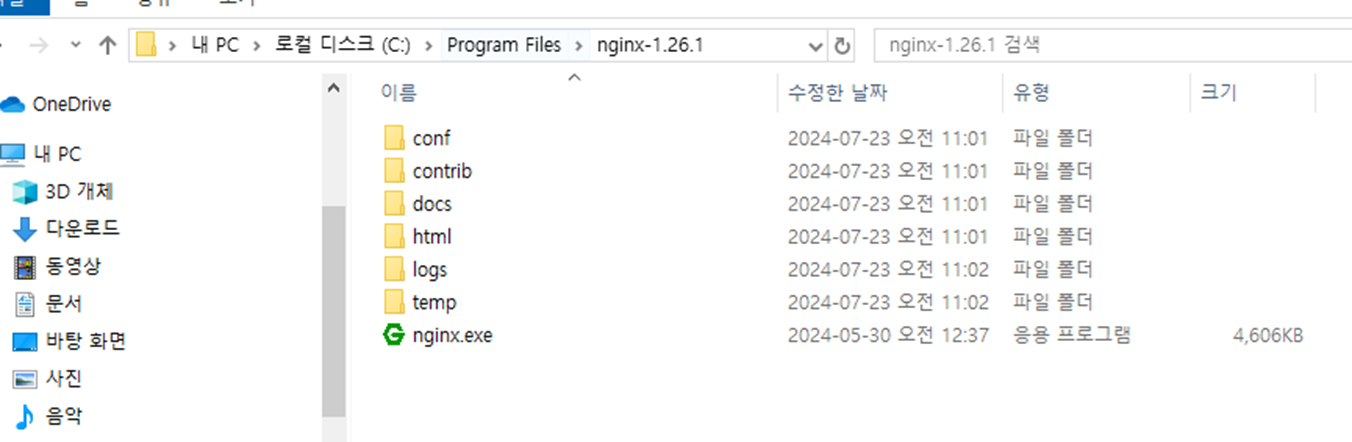
위 그림처럼 바로 디비랑 연결이 되어있어서 보안이 매우 취약 한데 여기서 웹서버 인 nginx 를 두면 웹서버가 웹어플리케이션 서버랑 통신해서 결과를 클라이언트에게 제공하면 보안에 취약점을 잡을 수있다.! 서론이 너무 길었다 이제 셋팅을 해보도록 하겟다.
터미널을 킨 후 ssh로 개발 서버로 진입
비번을입력 후
NGINX.CONF 파일 찾아내는 명령어 -> sudo find / -name nginx.conf
터미널창에 입력해준다.( nginx 를 이미 개발서버에 설치 한 과정에서 설명)
찾은 후에
보통/etc/nginx/*아래에 설정파일이 위치해있고, 로그파일은/var/log/nginx/*에 위치해있다.
ls 로 항목들을 보면
Nginx.conf(접속자 수, 동작 프로세스 수 등 퍼포먼스에 관한 설정들)
Sites-enabled( 활성화된 사이트들의 설정 파일들이 위치한다. 존재 하지 않은 경우 직접 디렉토리 생성 가능)
등등 이 있다 우선 우리는
Sites-available ( 설정을 저장하는 곳이다. 여기에 설정을 만든 것은 실제로nginx에 반영되지는 않습니다. 반영하기 위해서는sites-enabled에 설정파일을 복사 또는 심볼릭링크를 걸어준다.)
nginx의 폴더 안을 들여다 보면sites-available과sites-enabled라는 폴더가 존재한다. 이 폴더들은 한 웹서버에서 여러가지 웹 서비스를 다른 도메인으로 운영 할 때를 대비해서 있는 폴더라고 이해하면 된다.
sites-available에는 각 도메인의 고유 설정 파일을 저장 해 두고,sites-enabled에 심볼릭 링크를 작성 혹은 삭제 함으로서 손쉽게 웹 서비스를 실행 혹은 중단 시키는 것이 가능하다.
추가적으로 http 로 접속 시 https 로 리다이렉트 하는 부분은 아래와 같이 코드를 추가하면된다.
return 301 https://$host$request_uri;
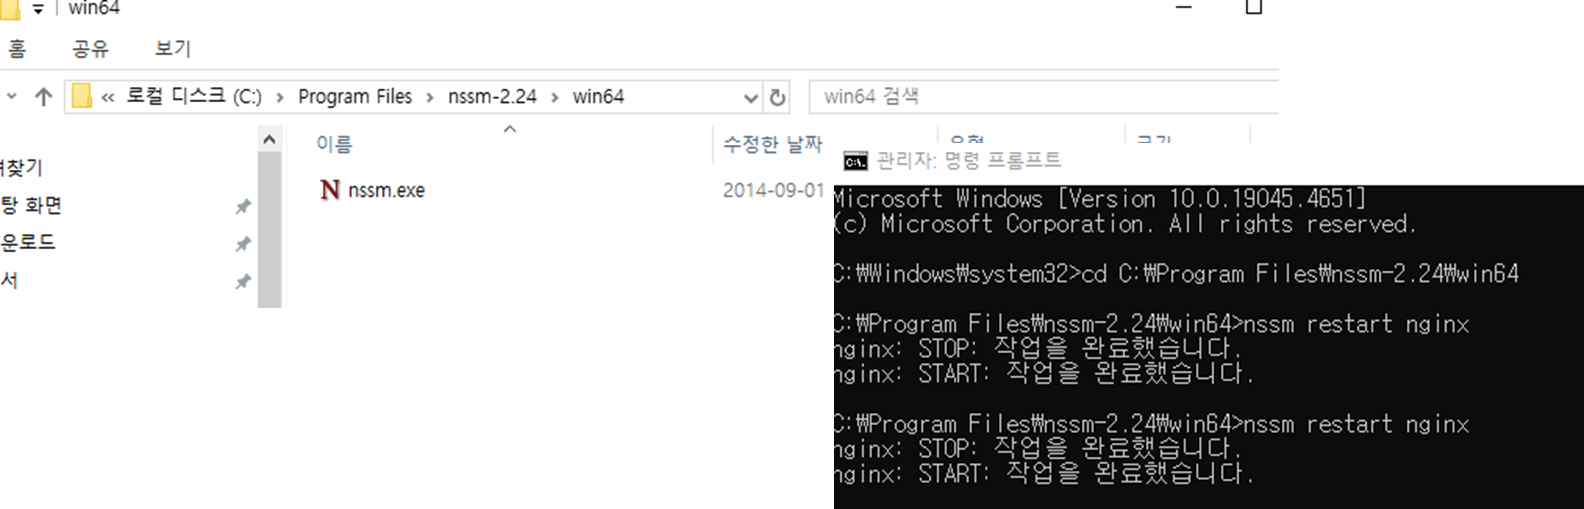
아래 리스타트 명령어로 재실행 시킨다.
sudo systemctl restart nginx
site available 에서 설정파일 추가
server {
        listen 80 default_server;
        listen [::]:80 default_server;

        # SSL configuration
        #
        # listen 443 ssl default_server;
        # listen [::]:443 ssl default_server;
        #
        # Note: You should disable gzip for SSL traffic.
        # See: https://bugs.debian.org/773332
        #
        # Read up on ssl_ciphers to ensure a secure configuration.
        # See: https://bugs.debian.org/765782
        #
        # Self signed certs generated by the ssl-cert package
        # Don't use them in a production server!
        #
        # include snippets/snakeoil.conf;

        root /var/www/html;

        # Add index.php to the list if you are using PHP
        index index.html index.htm index.nginx-debian.html;

        server_name _;

        location / {
                # First attempt to serve request as file, then
                # as directory, then fall back to displaying a 404.
                try_files $uri $uri/ =404;
        }

        # pass PHP scripts to FastCGI server
        #
        #location ~ \.php$ {
        #       include snippets/fastcgi-php.conf;
        #
        #       # With php-fpm (or other unix sockets):
        #       fastcgi_pass unix:/var/run/php/php7.0-fpm.sock;
        #       # With php-cgi (or other tcp sockets):
        #       fastcgi_pass 127.0.0.1:9000;
        #}

        # deny access to .htaccess files, if Apache's document root
        # concurs with nginx's one
        #
        #location ~ /\.ht {
        #       deny all;
        #}
}

server {
    listen 8005;
    listen [::]:8005;

    root /home/dev/hitable2020-frontend-manager/dist;
    index index.html index.htm;
    location / {
       try_files $uri $uri/ /index.html;
    }
}

server {
        listen 8001 ssl;

        root /var/www/html;
        index index.html index.htm;
        server_name _;

        location / {
                try_files $uri $uri/ =404;
        }

        location ~/.well-known {
                allow all;
        }
}
여기서 심볼릭 링크를 걸어줘야한다 site-adailable/ 에서 만든 사이트를 site-enabled/에 추가해야 활성화가 된다.
site-adailable/ 에 추가한 사이트를 site-enabled/에 심볼릭 링크하여 사이트를 활성화 할 수 있다.
심볼릭 링크랑 윈도위의 바로가기이다.
site-enabled 추가
#
# In most cases, administrators will remove this file from sites-enabled/ and
# leave it as reference inside of sites-available where it will continue to be
# updated by the nginx packaging team.
#
# This file will automatically load configuration files provided by other
# applications, such as Drupal or Wordpress. These applications will be made
# available underneath a path with that package name, such as /drupal8.
#
# Please see /usr/share/doc/nginx-doc/examples/ for more detailed examples.
##

# Default server configuration
#
server {
        listen 80 default_server;
        listen [::]:80 default_server;

        # SSL configuration
        #
        # listen 443 ssl default_server;
        # listen [::]:443 ssl default_server;
        #
        # Note: You should disable gzip for SSL traffic.
        # See: https://bugs.debian.org/773332
        #
        # Read up on ssl_ciphers to ensure a secure configuration.
        # See: https://bugs.debian.org/765782
        #
        # Self signed certs generated by the ssl-cert package
        # Don't use them in a production server!
        #
        # include snippets/snakeoil.conf;

        root /var/www/html;

        # Add index.php to the list if you are using PHP
        index index.html index.htm index.nginx-debian.html;

        server_name _;

        location / {
                # First attempt to serve request as file, then
                # as directory, then fall back to displaying a 404.
                try_files $uri $uri/ =404;
        }

        # pass PHP scripts to FastCGI server
        #
        #location ~ \.php$ {
        #       include snippets/fastcgi-php.conf;
        #
        #       # With php-fpm (or other unix sockets):
        #       fastcgi_pass unix:/var/run/php/php7.0-fpm.sock;
        #       # With php-cgi (or other tcp sockets):
        #       fastcgi_pass 127.0.0.1:9000;
        #}

        # deny access to .htaccess files, if Apache's document root
        # concurs with nginx's one
        #
        #location ~ /\.ht {
        #       deny all;
        #}
}

server {
    listen 8005;
    listen [::]:8005;

    root /home/dev/hitable2020-frontend-manager/dist;
    index index.html index.htm;
    location / {
       try_files $uri $uri/ /index.html;
    }
}

server {
        listen 8001 ssl;

        root /var/www/html;
        index index.html index.htm;
        server_name _;

        location / {
                try_files $uri $uri/ =404;
        }

        location ~/.well-known {
                allow all;
        }
}
# Virtual Host configuration for example.com
#
# You can move that to a different file under sites-available/ and symlink that
# to sites-enabled/ to enable it.
#
conf.d폴더
nginx.conf에서 include로 불러올 수 있는 conf 파일 저장 폴더.
server {
    listen       80;
    server_name  localhost;

    #charset koi8-r;
    #access_log  /var/log/nginx/host.access.log  main;

    location / {
        root   /usr/share/nginx/html;
        index  index.html index.htm;
    }

    #error_page  404              /404.html;

    # redirect server error pages to the static page /50x.html
    #
    error_page   500 502 503 504  /50x.html;
    location = /50x.html {
        root   /usr/share/nginx/html;
    }

    # proxy the PHP scripts to Apache listening on 127.0.0.1:80
    #
    #location ~ \.php$ {
    #    proxy_pass   http://127.0.0.1;
    #}

    # pass the PHP scripts to FastCGI server listening on 127.0.0.1:9000
    #
    #location ~ \.php$ {
    #    root           html;
    #    fastcgi_pass   127.0.0.1:9000;
    #    fastcgi_index  index.php;
    #    fastcgi_param  SCRIPT_FILENAME  /scripts$fastcgi_script_name;
    #    include        fastcgi_params;
    #}

    # deny access to .htaccess files, if Apache's document root
    # concurs with nginx's one
    #
    #location ~ /\.ht {
    #    deny  all;
    #}
}
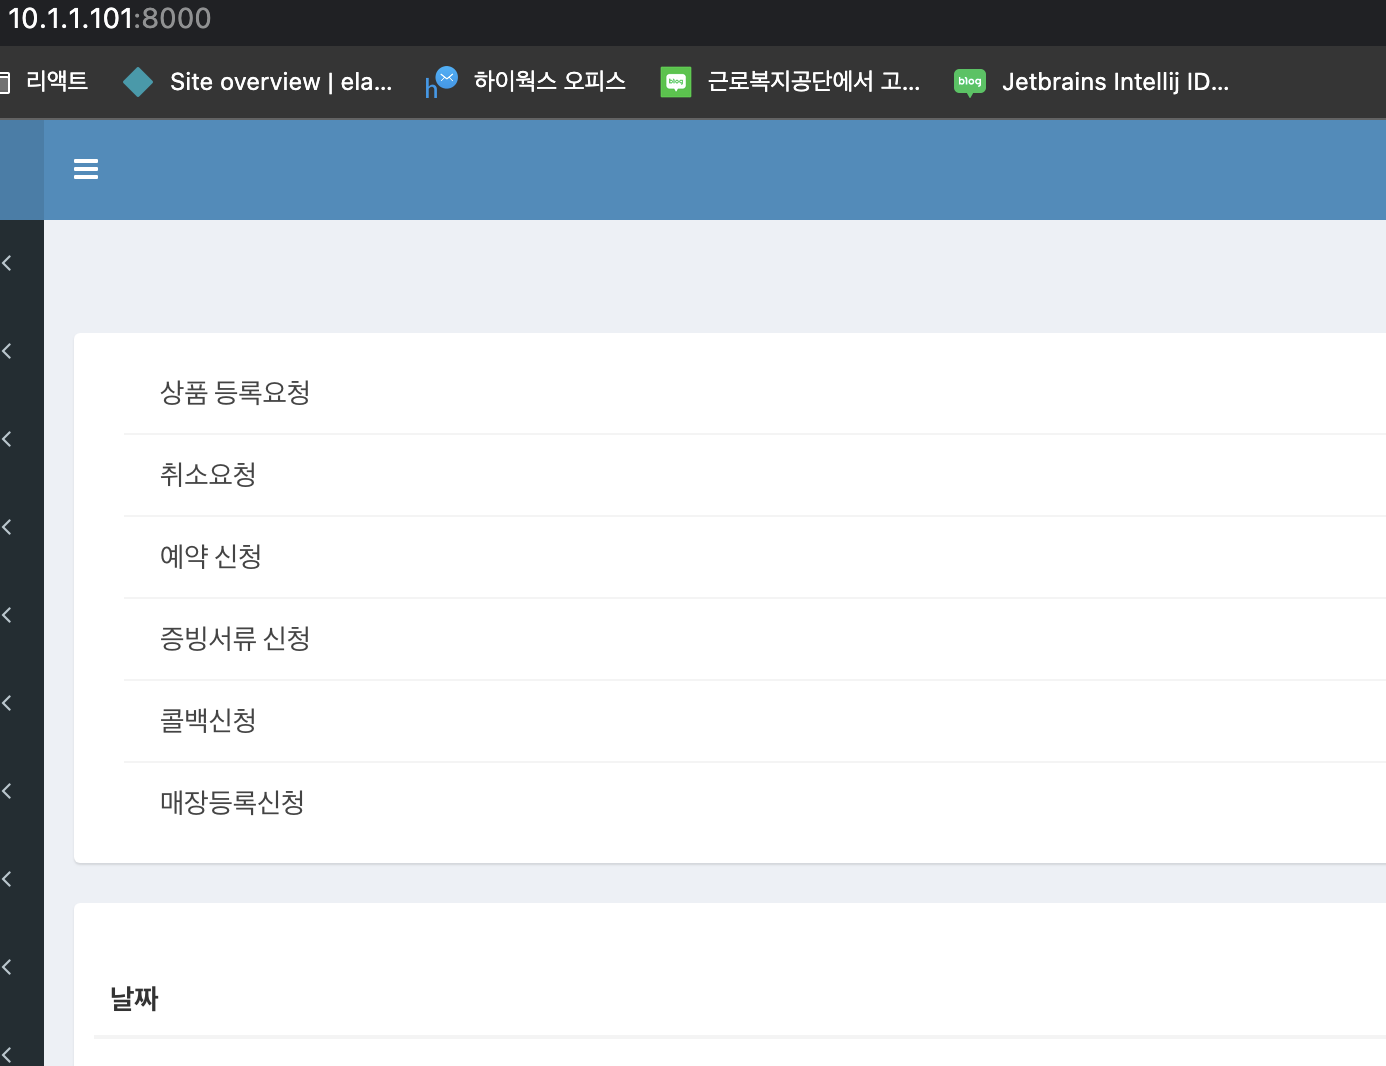
좀더 디테일하게 하고 싶으면 검색을 하면서 추가적으로 셋팅을 더넣으면 될것같다 내부아이피로 포트를 타면 페이지가 잘뜨는것을 확인할수있다~ 내부아이피타임으로 설정은 추가적으로 들어가면 내부에서 와이파이가 연결되어있을경우에만 회사에서 사용가능한 개발서버가 열린다~