프로젝트 생성
npx create-react-app toyproject
패키지 설치
npm install tailwindcss postcss-cli autoprefixer
css 설정파일 생성 ( tailwind.config.js)
npx tailwindcss init -p
PostCSS 설정 파일 생성
notepad postcss.config.js
내용 추가
/** @type {import('tailwindcss').Config} */
module.exports = {
  content: [],
  theme: {
    extend: {},
  },
  plugins: [],
}
index.css
@import 'tailwindcss/base';
@import 'tailwindcss/components';
@import 'tailwindcss/utilities';


body {
  margin: 0;
  font-family: -apple-system, BlinkMacSystemFont, 'Segoe UI', 'Roboto', 'Oxygen',
    'Ubuntu', 'Cantarell', 'Fira Sans', 'Droid Sans', 'Helvetica Neue',
    sans-serif;
  -webkit-font-smoothing: antialiased;
  -moz-osx-font-smoothing: grayscale;
}

code {
  font-family: source-code-pro, Menlo, Monaco, Consolas, 'Courier New',
    monospace;
}
tailwind.config.js
/** @type {import('tailwindcss').Config} */
module.exports = {
  content: ['./src/**/*.{js,ts,jsx,tsx}'],
  theme: {
      extend: {},
  },
  plugins: [],
};
추가적으로 만들기 전 라우터 사용하기 위해서 설치
npm install react-router-dom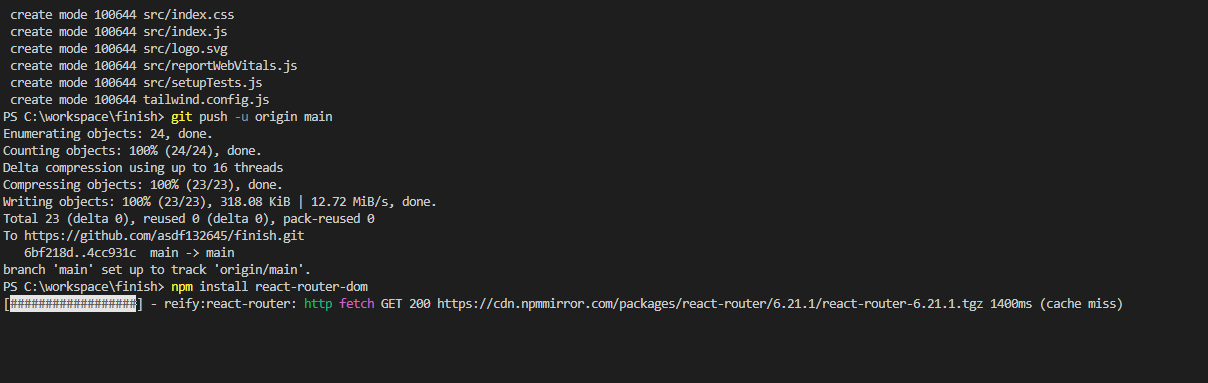
// import logo from './logo.svg';
import './App.css';
import React from 'react';
import { BrowserRouter, Route, Routes } from "react-router-dom";
import Main from './pages/main';
// import About from './pages/About';


function App() {
  return (
    <BrowserRouter>
      {/* <Header /> */}
      <Routes>
        <Route path="/" element={<Main />} />
      </Routes>
    </BrowserRouter>
  );
}

export default App;
만들어준 후 공통 header.tsx 작업을 들어간다.
일단 메인쪽에서 애니메이션 효과를 사용할 것이기에 해당 npm 을 설치한다.
npm install react-scroll framer-motion
import React from 'react';
import { Link } from 'react-router-dom';

const Header: React.FunctionComponent = () => {
  return (
    <header>
        <h2 className="dn none">상단메뉴</h2>
        <div>
            <button>견적문의</button>
            <p>000-0000-0000</p>
        </div>
      <nav>
        <ul>
          <li>
            <Link to="/">Main</Link>
          </li>
          <li>
            <Link to="/about">회사 소개</Link>
          </li>
          <li>
            <Link to="/about">사업 현황</Link>
          </li>
          <li>
            <Link to="/about">파트너사 문의</Link>
          </li>
        </ul>
      </nav>
    </header>
  );
};

export default Header;
헤더 부분 만들어주고 좀있다가 테일윈드css 를 적용해보겠다.
공식 문서
https://tailwindcss.com/docs/installation
Installation - Tailwind CSS
The simplest and fastest way to get up and running with Tailwind CSS from scratch is with the Tailwind CLI tool.
tailwindcss.com
여기서 필요한 부분을 확인하면서 추가를 하도록 하겠다.
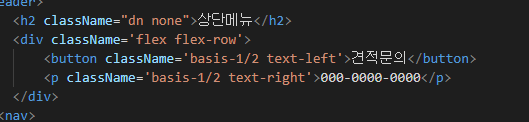
정렬을 위해서 해당 클래스를 넣어주면

이런형태로 들어간다.
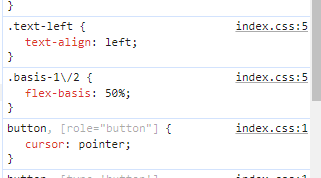
이런식으로 적용이 되는걸 확인 할 수 있다.
추후에 개인 프로젝트로 하나 만들예정이다.
깃허브
'react > 리액트 + Express' 카테고리의 다른 글
| 리액트 성능최적화 (0) | 2023.12.17 |
|---|---|
| (Clean Architecture)클린 아키텍처 - feat(React) (0) | 2023.12.12 |
| node express 개념설명 (1) | 2023.12.08 |
| 리액트 + Express + Mysql 연동 테이블 값 뿌리기 (6) | 2022.12.29 |
| 리액트 express 를 사용하여 MySQL 연동하기 (4) | 2022.12.28 |